Automated QC of Glass: Basic Topics Explained
Operational efficiency and quality corporate image can only be built on sound base of lean, streamlined processes yielding constant quality for internal and external customers. Well-placed, purpose-built scanning is an integral part of any production line today.

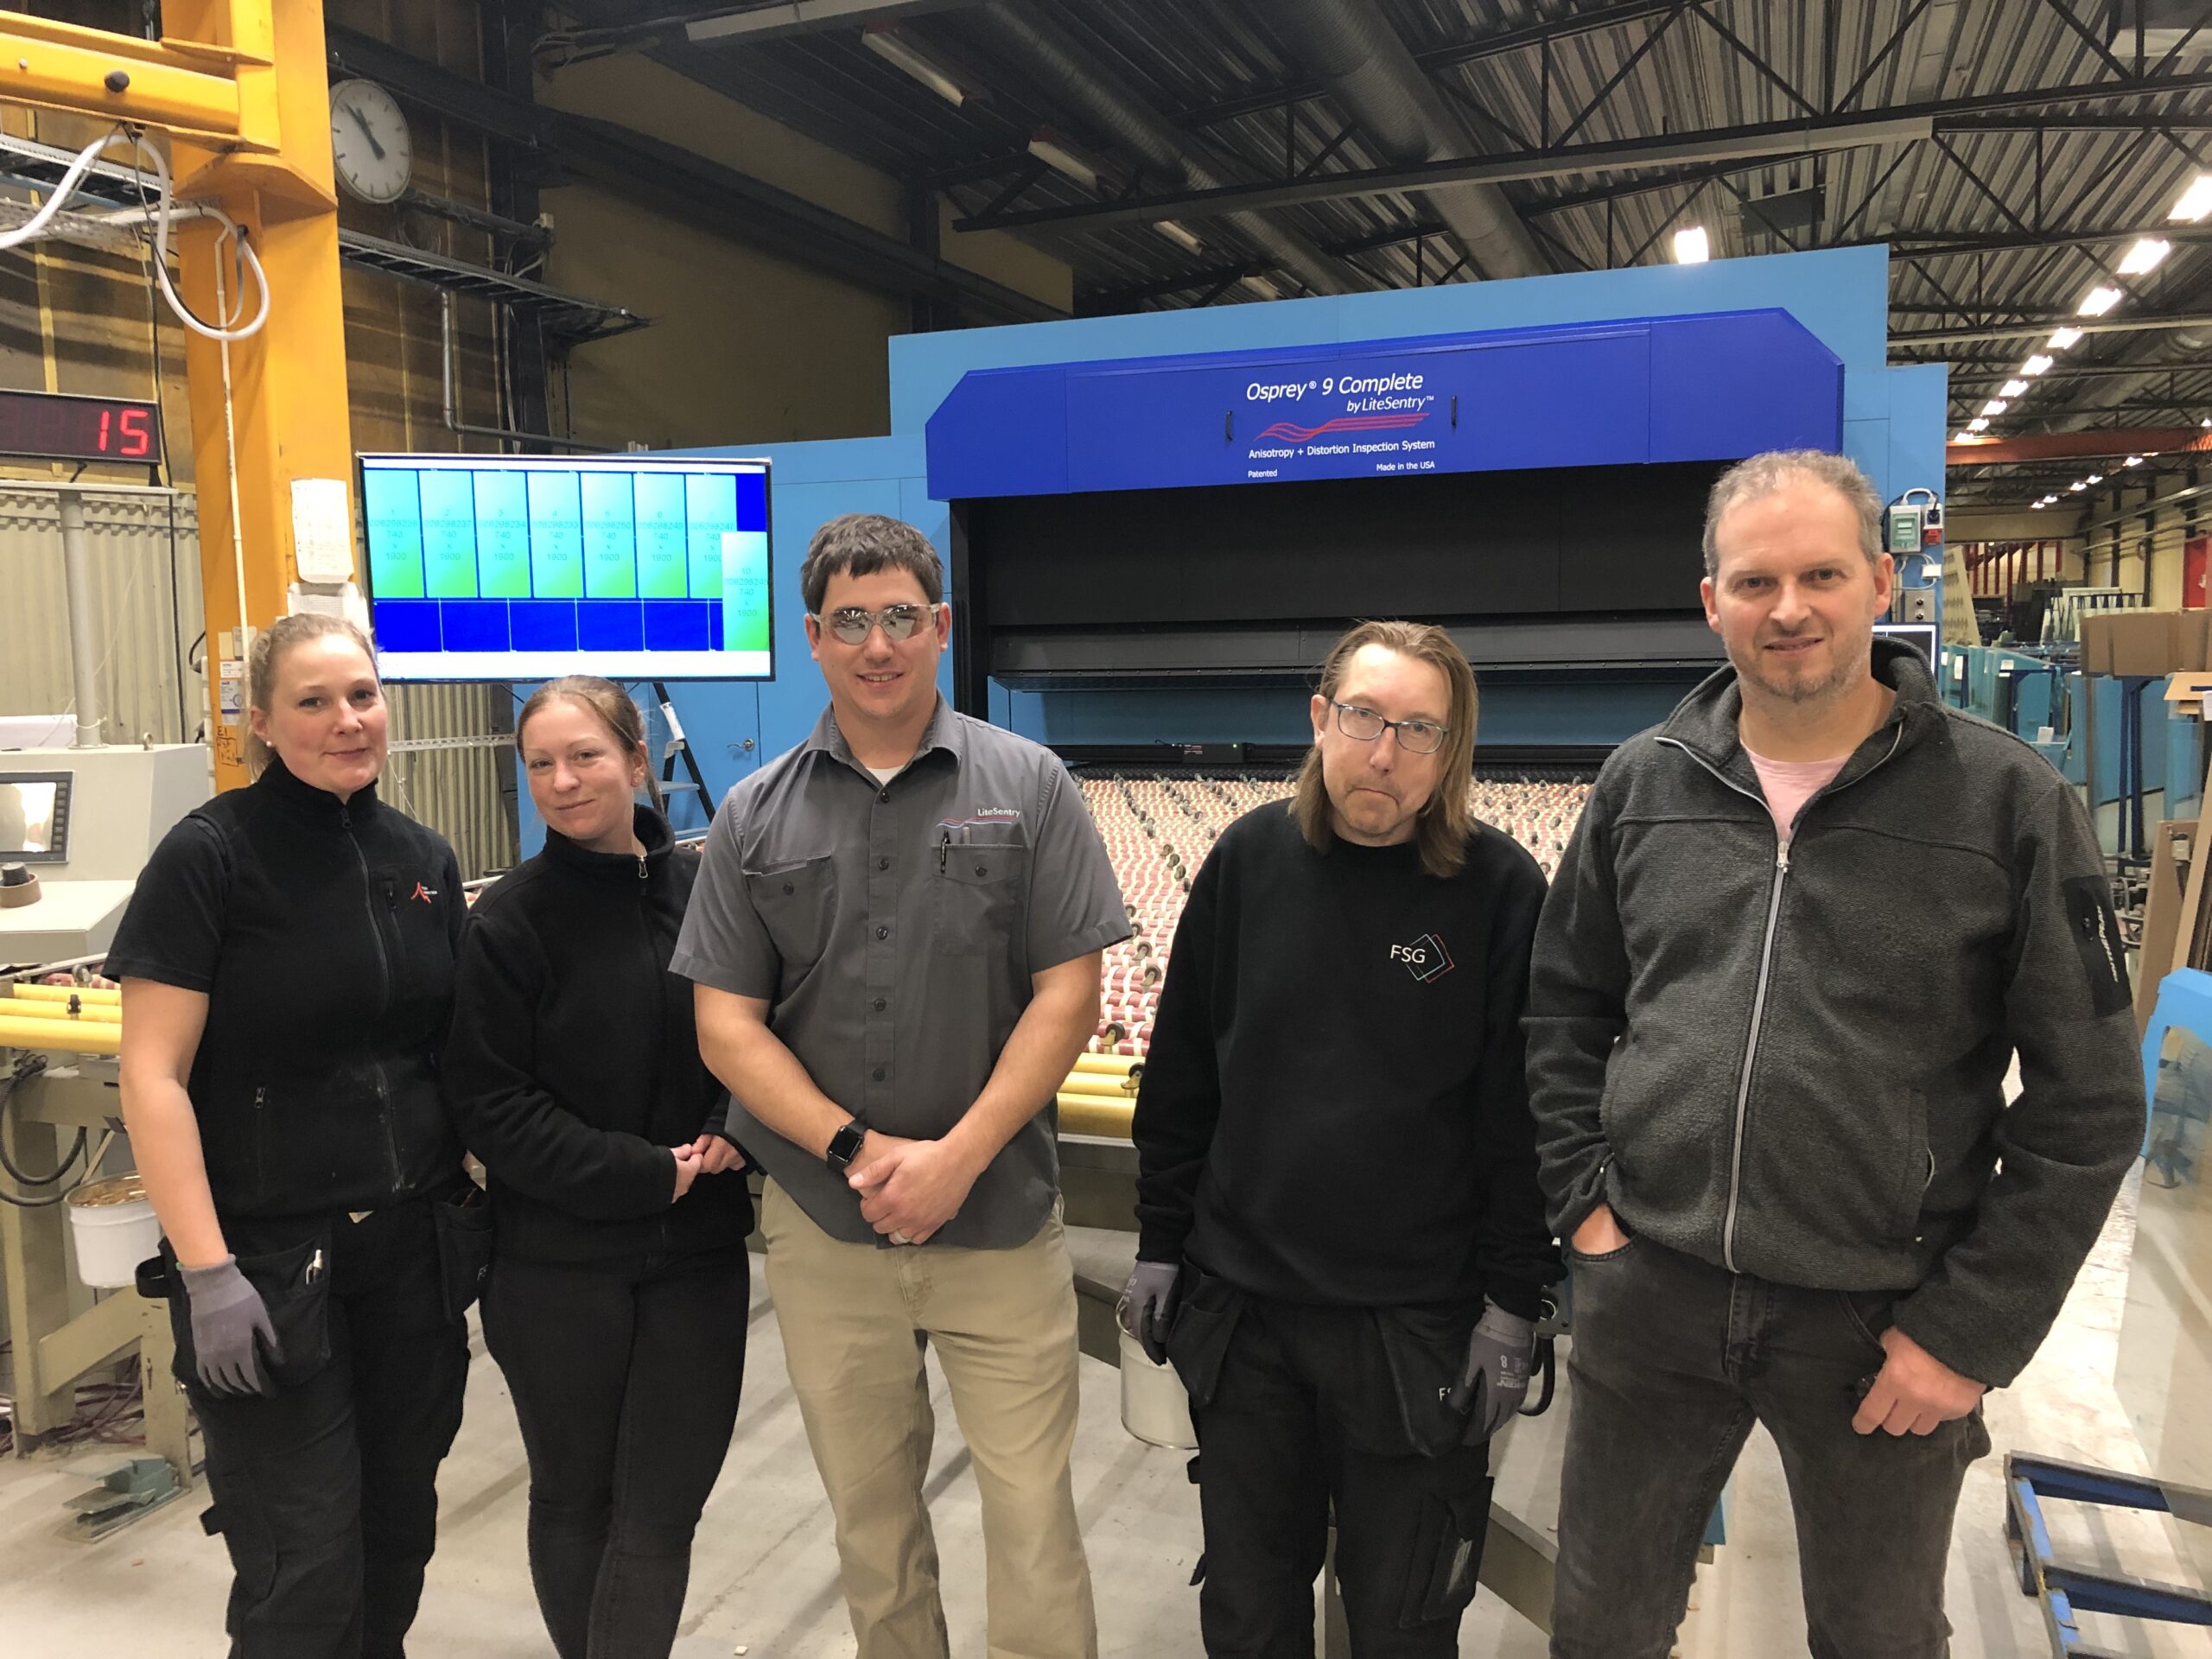
FSG bets on quality with Osprey
The very first Osprey System in Scandinavia was recently commissioned at Forserum Safety Glass in Sweden. Osprey Flatness, Distortion and Anisotropy Measurement is recognized as the industry standard for quality assurance for tempered products in North America and Central Europe.

Manual Quality Control is a Thing of Past
Automatization of quality control is indispensable and one of the easiest steps in securing efficiency of the glass production and customer satisfaction. The use of modern scanners in today’s glass processing is thus obvious, but what should be considered when choosing a scanner for each process stage?

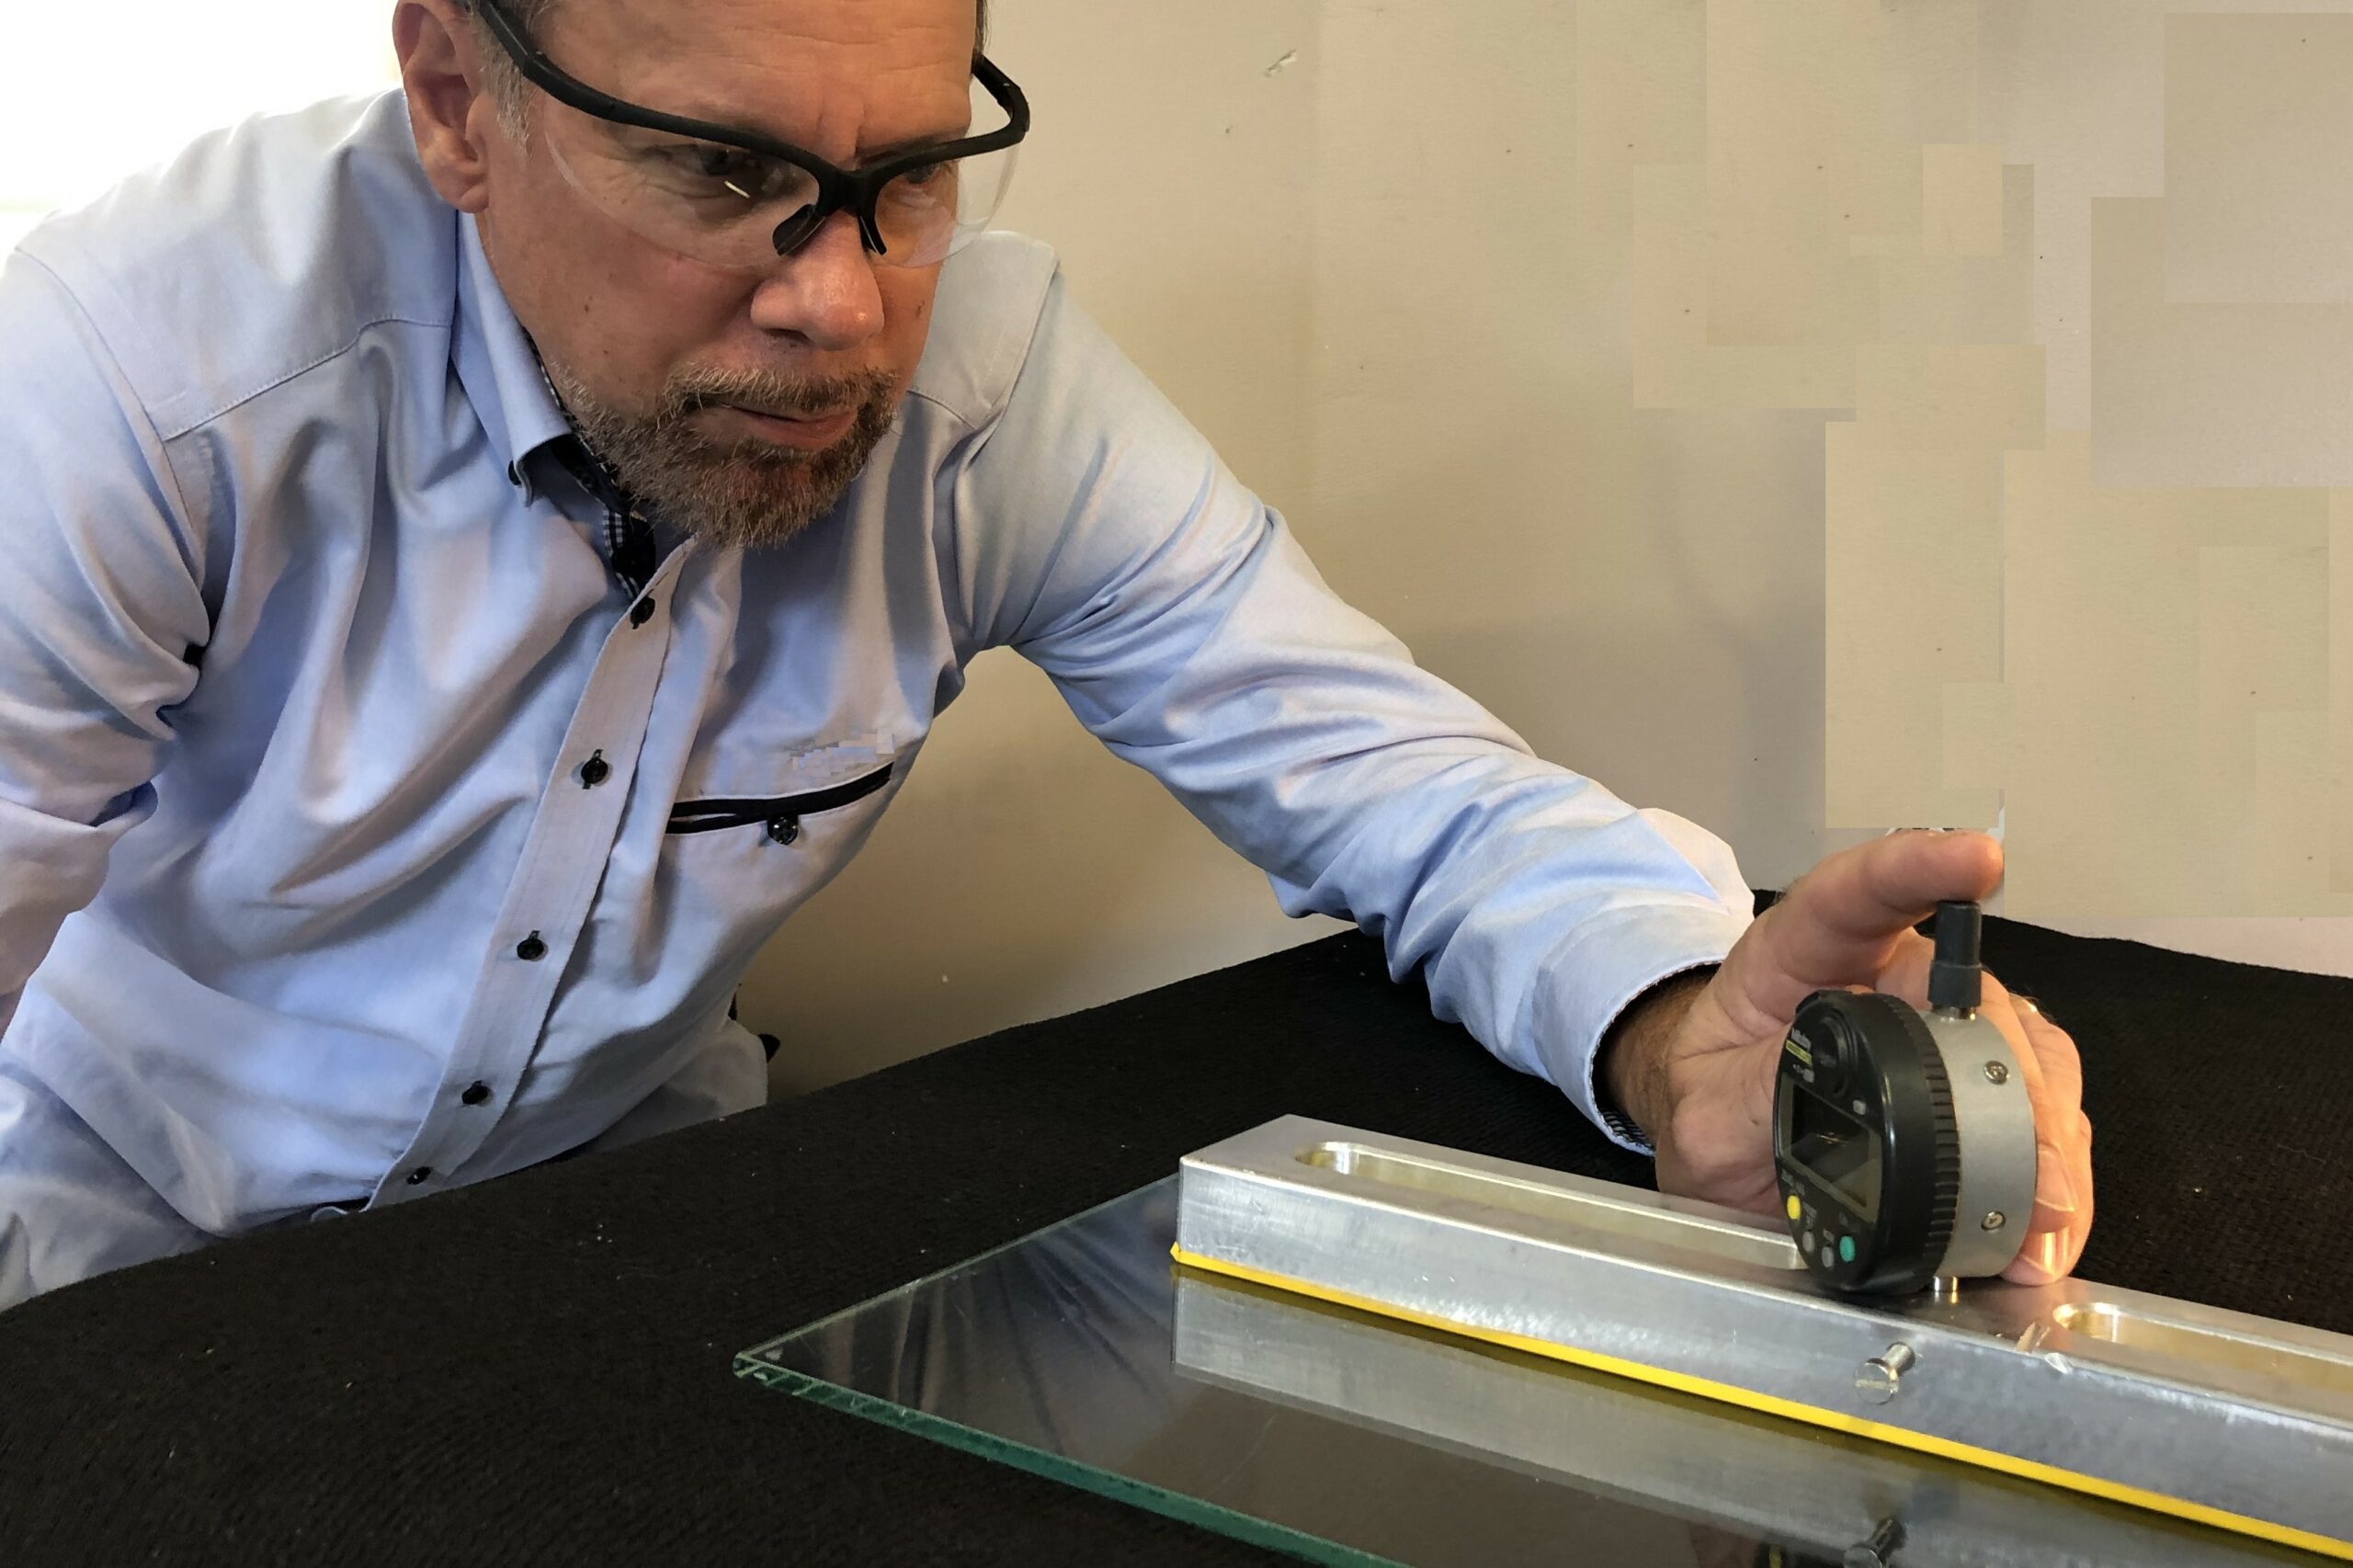
Avoid Costly Failures by Measuring Distortions
Defective glass is a result of a failure in the incoming material, labor, ambient conditions or the process itself. Defective glasses should be detected and removed from the process as early as possible. The most expensive defects are those, which end up installed at site and fail months or years after installation, resulting in claims and disagreement.
